
Imagine yourself relaxing gently, suspended between two sturdy trees, feeling the soft breeze as you sway in your very own handmade hammock. If you’ve ever thought about creating a cozy retreat just for you, learning how to make a hammock is easier than you might think.
In this guide, you’ll discover simple steps and helpful tips that turn basic materials into a perfect spot for rest and relaxation. Keep reading, and by the end, you’ll have everything you need to craft a hammock that’s just right for your backyard, porch, or anywhere you want to unwind.
Table of Contents
Credit: www.sailrite.com
Choosing The Right Materials
Choosing the right materials is key to making a strong and comfy hammock. The right fabric and rope affect how long your hammock lasts and how it feels. Pick materials that fit your style and where you want to use the hammock.
Fabric Options For Durability And Comfort
Look for fabric that can handle weight and weather. Cotton is soft and comfy but may wear out faster outside. Polyester resists water and sun damage. Nylon is strong and dries fast, good for camping.
Types Of Rope For Safety And Strength
Rope holds the hammock up. Choose rope that is thick and sturdy. Polyester rope lasts long and resists weather. Manila rope is natural and strong but can rot if wet. Avoid thin ropes that might snap.
Hardware Needed For Secure Hanging
Use strong hooks and carabiners to hang the hammock. Metal hardware should be rust-resistant like stainless steel or coated steel. Check weight limits on all hardware to ensure safety.

Credit: www.youtube.com
Essential Tools You Need
Making a hammock requires some basic tools. These tools help you build a strong and safe hammock. Preparing the right tools saves time and effort. It also ensures a better result.
Rope Or Strong Cord
A sturdy rope is the main material for your hammock. Choose a rope that can hold weight well. Nylon or polyester ropes work best. Avoid ropes that can easily fray or break.
Fabric Or Netting
Select a durable fabric or netting for the hammock bed. Cotton, canvas, or nylon fabrics are good choices. Make sure the material feels comfortable and strong.
Scissors Or Cutting Tool
Sharp scissors help cut ropes and fabric with ease. A good cutting tool makes precise cuts. This keeps the material neat and ready to use.
Measuring Tape
Use measuring tape to get accurate lengths of rope and fabric. Proper measurements ensure the hammock fits well. It also prevents wasting materials.
Needle And Thread
A strong needle and thread help sew fabric pieces together. Use heavy-duty thread for better strength. This step keeps the hammock secure and durable.
Carabiners Or Hooks
Carabiners or hooks make hanging the hammock easier. They provide a safe way to attach the hammock to trees or stands. Choose strong metal hooks for safety.
Selecting The Perfect Fabric
Choosing the right fabric is the first step to making a strong and comfy hammock. The fabric affects how the hammock feels and how long it lasts. Picking good fabric helps the hammock hold up in sun, rain, and wind. It also keeps you comfortable while resting.
Many fabrics work well for hammocks, but some are better than others. You want fabric that is soft yet tough. It should dry fast and resist mold. The fabric also needs to stretch just enough to hold your weight safely.
Durability And Strength
Strong fabric keeps your hammock safe. Look for material that can hold a lot of weight without tearing. Nylon and polyester are popular for their strength. Cotton is soft but wears out faster. Durable fabric lasts longer and protects you.
Breathability And Comfort
Comfort means the fabric should let air pass through. This stops sweat and heat from building up. Cotton is very breathable and feels soft on the skin. Synthetic fabrics can trap heat but dry quickly. Choose based on your comfort needs.
Water Resistance And Drying Time
Water-resistant fabric helps when it rains or if the hammock gets wet. Nylon and polyester dry quickly and resist mold. Cotton absorbs water and takes longer to dry. Fast drying fabric keeps your hammock fresh and ready.
Weight And Portability
Lightweight fabric makes your hammock easy to carry. This is important for hiking or camping. Nylon and polyester are light and pack small. Heavy fabrics add weight and take up space. Pick fabric that fits your travel style.
Measuring And Cutting Fabric
Measuring and cutting fabric is the first step to making a hammock. Accurate measurements ensure the hammock is strong and comfortable. Use the right size fabric to avoid waste and extra work.
Choose a durable fabric that can hold weight and resist weather. Cotton and polyester are good options. Measure carefully before cutting to get the perfect size.
Gathering Your Tools
Start by collecting a tape measure, fabric scissors, and chalk or a fabric marker. A flat surface helps with precise measuring and cutting. Keep your tools close for easy access.
Measuring The Fabric
Decide the hammock’s length and width first. Add extra inches for hems and knots. Mark the fabric clearly with chalk. Double-check measurements to avoid mistakes.
Cutting The Fabric
Cut along the marked lines slowly and steadily. Use sharp fabric scissors to get clean edges. Avoid jagged cuts that may fray over time. Keep your hands steady for accuracy.
Sewing The Fabric Panels
Sewing the fabric panels is a key step in making a hammock. It holds the fabric pieces together to form a strong, comfortable bed. Proper sewing ensures the hammock can support weight safely.
Choose the right fabric and thread for durability. Use a sewing machine for neat and secure stitches. Hand sewing is possible but takes longer and may not be as strong.
Sewing Panel Edges
Start by folding the edges of each fabric panel. Fold about half an inch to hide raw edges. Pin the folds to keep them in place. Sew a straight stitch along the folded edge. This prevents fraying and adds strength.
Joining Fabric Panels
Place two fabric panels with right sides facing each other. Align the edges carefully for an even seam. Sew a straight stitch along the edge to join them. Use a backstitch at the start and end for extra strength.
Reinforcing Stress Points
Hammocks need extra support where the fabric will bear weight. Sew multiple rows of stitches at the ends of panels. Use a zigzag stitch to add flexibility and strength. This helps the hammock last longer and stay safe.

Credit: www.youtube.com
Adding Reinforcements And Edges
Adding reinforcements and edges makes your hammock stronger and safer. These parts stop the fabric from tearing and keep the hammock in shape. Reinforcements spread the weight evenly, so the hammock lasts longer. Edges give a neat finish and prevent fraying.
Reinforcing Stress Points
Stress points hold the most weight in a hammock. These areas need extra strength. Use double layers of fabric or strong patches. Sew them tightly with strong thread. Reinforce corners and where the ropes attach. This stops the fabric from ripping under pressure.
Creating Durable Edges
Edges protect the hammock fabric from wear and tear. Fold the fabric edges twice to hide raw sides. Sew a straight, tight stitch along the edge. Use thick thread for added strength. A clean edge keeps the hammock neat and safe.
Using Binding Tape For Extra Strength
Binding tape adds a strong border to your hammock. Choose a tape that matches your fabric. Wrap it around the edges and sew it down firmly. This tape stops fraying and strengthens the hammock sides. It also makes the hammock look tidy.
Attaching Ropes And Hardware
Attaching ropes and hardware is a key step in making a hammock. It holds the hammock strong and safe. This step connects the fabric to the trees or posts. Using the right knots and tools makes a big difference. The right setup keeps the hammock steady and comfortable.
Choosing The Right Ropes
Pick ropes that are strong and weather-resistant. Nylon or polyester ropes work well. They do not stretch much and resist water. Ropes should be thick enough to hold weight. Usually, ropes with a diameter of 1/4 inch or more are good. Avoid thin or weak ropes that can break easily.
Using Carabiners And Hooks
Carabiners and hooks connect ropes to the hammock. They make hanging easier and faster. Use metal carabiners that can hold heavy loads. Check their weight limit before buying. Avoid plastic clips as they can snap. Attach carabiners to the hammock loops tightly for safety.
Tying Secure Knots
Knots must be tight and reliable. The bowline knot is strong and easy to untie later. The taut-line hitch adjusts rope tension well. Practice these knots before starting. Loose knots can cause the hammock to fall. Test knots by pulling hard on the rope.
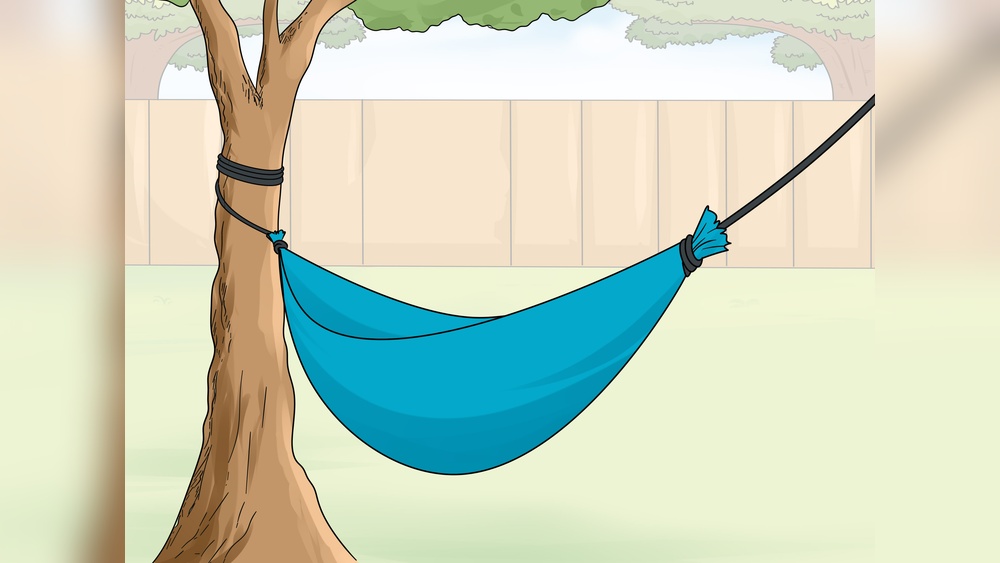
Securing Your Hammock For Use
Securing your hammock properly ensures safety and comfort. Poor setup can cause accidents or damage. Follow simple steps to hang your hammock with confidence. Choose strong supports and check all knots and straps.
Proper tension keeps the hammock stable. Avoid hanging it too tight or too loose. The right height and angle create a cozy resting spot. Take time to secure every part carefully.
Choosing Strong Anchor Points
Select trees or posts at least 6 inches thick. They must be healthy and stable. Avoid weak or dead trees that may break. Use sturdy beams or walls if outdoors trees are not available.
Using The Right Straps And Ropes
Use wide straps to protect tree bark and provide grip. Avoid thin ropes that may cut or slip. Durable materials like polyester or nylon work best. Double-check knots and connections before use.
Hanging Height And Angle
Hang the hammock about 18 inches off the ground. Keep a 30-degree angle between the straps and the ground. This balance prevents tipping and keeps your body supported. Adjust as needed for comfort.
Safety Checks Before Use
Test the hammock gently before full weight. Look for any signs of wear on straps or knots. Tighten loose parts and replace damaged gear immediately. Safety first for a relaxing experience.
Tips For Hammock Care And Maintenance
Taking care of your hammock helps it last longer and stay comfortable. Simple steps keep the fabric strong and the ropes safe. Regular care stops damage from sun, rain, or dirt.
Clean your hammock often. Dirt and sweat can wear the material. Dry it well before storing. Wet fabric can grow mold and smell bad. Store your hammock in a cool, dry place. Avoid leaving it outside all the time.
Cleaning Your Hammock Properly
Use mild soap and cold water to clean your hammock. Gently scrub with a soft brush or cloth. Rinse well to remove soap. Do not use bleach or strong chemicals. These can weaken the fabric fibers.
Storing Your Hammock Safely
Always dry your hammock before storing. Fold it neatly to avoid wrinkles. Keep it in a bag or box to protect from dust. Store inside during cold or rainy seasons. This prevents mold and rope damage.
Checking And Repairing Wear
Look at your hammock regularly for tears or frays. Fix small holes quickly with needle and thread. Replace worn ropes or straps to stay safe. Repairing early stops bigger problems later.
FAQ: How to Make a Hammock
What Materials Do I Need To Make A Hammock At Home?
You need strong fabric or rope, sturdy tree straps or carabiners, and a sewing kit. Choose materials that can hold your weight safely.
How Do I Choose The Right Size For A Homemade Hammock?
A good hammock length is about 10 to 14 feet to fit most adults comfortably. Width depends on how many people will use it.
Can I Make A Hammock Without Sewing Skills?
Yes, you can use rope or paracord to weave a hammock. No sewing is needed if you tie knots securely.
How Do I Safely Hang A Hammock Between Two Trees?
Pick trees about 12 to 15 feet apart and strong enough to hold weight. Use tree straps to avoid damage and hang the hammock at waist height.
How Long Does It Take To Make A Simple Hammock?
Making a basic rope or fabric hammock can take 1 to 3 hours. Time depends on your skill and the materials used.
Conclusion
Making a hammock at home can be fun and rewarding. You only need a few materials and simple steps. Enjoy crafting something cozy for your outdoor time. A handmade hammock offers comfort and a personal touch. Try different fabrics and knots to find your style.
Soon, you will relax in your own creation. Keep safety in mind and hang it well. Happy relaxing!